
Partner-level users can be given access to multiple client portals at a time. If a user does not need to access multiple client portals, consider giving them Manager-level access. Only Partner-level users and the Timerack Support team can add new Partner users; Managers do not have access to add or manage users at the Partner level. |  |
By default, new Partner users are granted access to every client on your company's Partner Dashboard. To assign Partner users access only to specific clients, see Assign Partner User Access to Client Portals.
This article explains how to create a new user who can access multiple client portals as a Partner. To create a new user who can access only one client portal, see Add a Manager User.
1) From the Partner Dashboard, click My Accounts in the top navigation menu.

2) Choose the Add User option on the left.

3) Click the Add User button, or use the Select Partner User dropdown menu to choose Add New.

Your web browser may pre-populate your login information in the text entry spaces for the new user. If that happens, delete your information so that you can enter the information applicable to the new user.
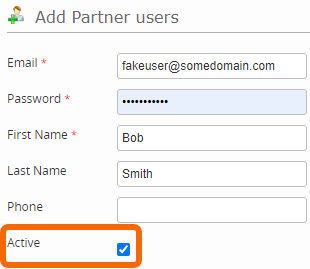
4) Enter the user's email address. Email address is the username that will be required to log in.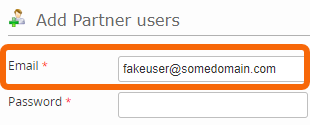
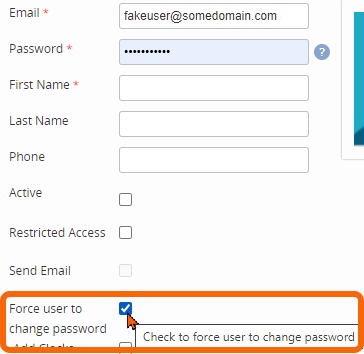
5) In the password field, create a temporary password that the user will enter when they log in for the first time.

6) Mark the force user to change password checkbox to require the user to update their password when they log in.
7) Enter the user's first and last name.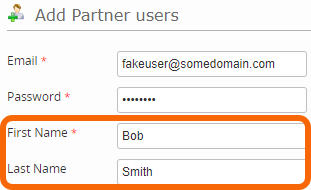
8) Partner Users' permissions can be configured so that they cannot view or modify the Settings in client portals to which they have access. To remove access to portal Settings, mark the Restricted Access checkbox.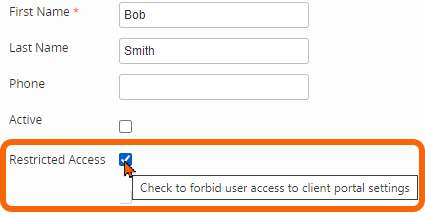
9) Activate the user's profile by marking the Active checkbox.
10) Mark the Send Email checkbox to generate a welcome email which will be sent to the user. Email will be sent when the user profile is saved.
Email sender is noreply@timerack.com. Check spam and junk folders if the recipient cannot locate the email.
10) Click the Save button at the bottom of the page to finalize the user's profile and send the welcome email.
