
A Reason Code can be added to each punch pair on the Timecard to explain why a manual change was made or to note other anomalies.
This article explains how to configure and use Timecard Reason Code.
Configure Reason Codes
Reason Codes are set up in Client portal Settings.
1) Select Settings in the top navigation menu and then select the General option on the left.

2) Select the Reason Code option. |  |
By default, the Client portal is populated with a 'Missed Punch' Reason Code.
| Action | edit and delete each Reason Code |
| Reason Name | how the Reason Code displays on the Timecard |
| Reason Order | where the Reason Code displays in the Reason Code dropdown on the Timecard |
|

3) Enter a description in the Reason Name field.

4) In the Reason Order field, enter a number to specify the order in which the Reason Code will display in the dropdown list on the Timecard.

5) Click the Add button to save. | 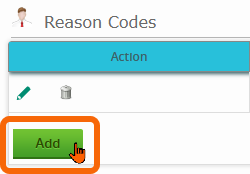 |
Enter Reason Code on Timecard
A field for Reason Code is displayed on each Timecard.

1) Click the Edit Timecard button to open the Timecard for editing.
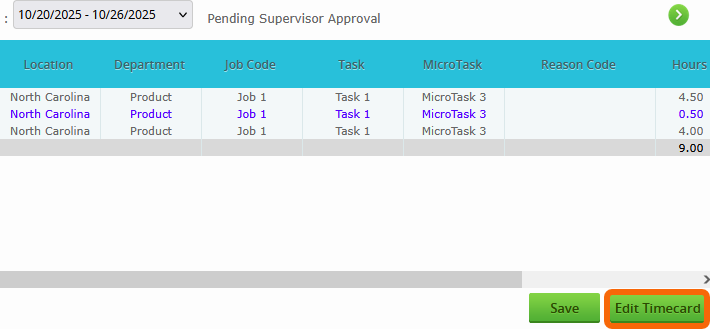
| 2) Use the dropdown on the applicable punch pair(s) to select a Reason Code. |  |
| 3) Click the Save Timecard button to save your changes. |  |